After a frustrating first attempt at building a crystal radio with a radio kit over Christmas, I was excited to move on to the simpler-sounding Snap, Plug and Play Radio kit from Wonderology. Marketed as a project for ages 8 and up, the box touted that you could “create your own working FM radio!”
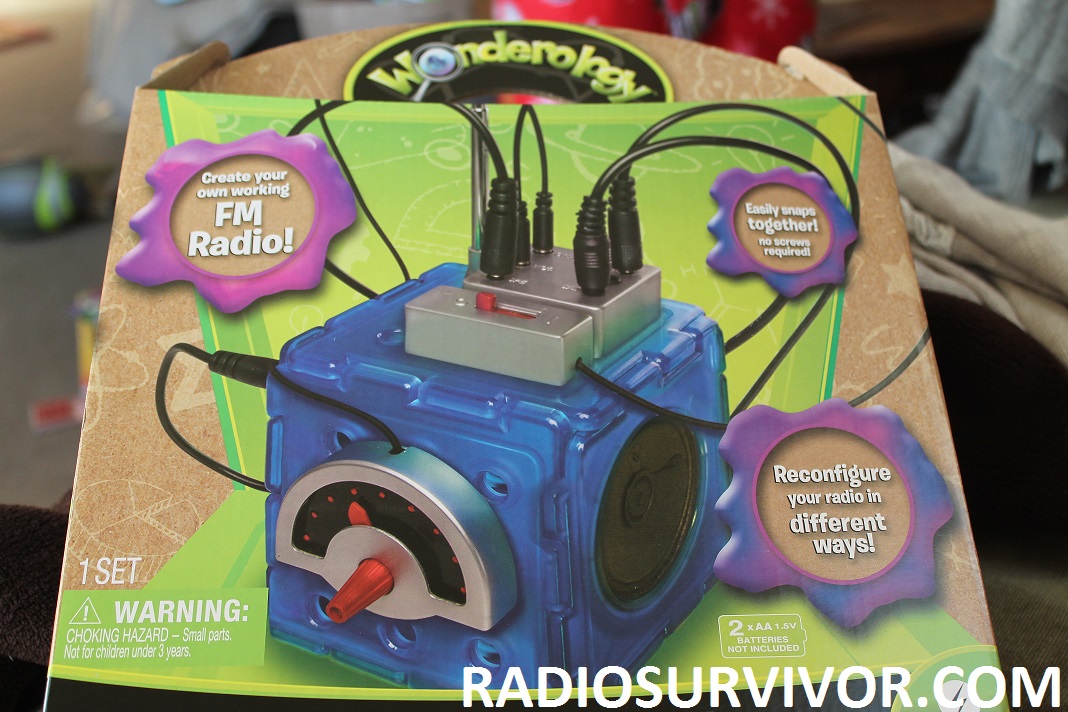
Wonderology Snap, Plug and Play Radio box. Photo: J. Waits
My 8-year-old daughter was also looking forward to helping me with this project since it seemed to be much more straight-forward than the crystal radio kits that I had. Although it’s less of a science project, the Wonderology kit is visually pleasing and simple to assemble.

Assembling the panels of the radio. Photo: J. Waits
In less than half an hour we snapped together the blue square plastic panels in order to form the radio cube. One panel contained the speaker.
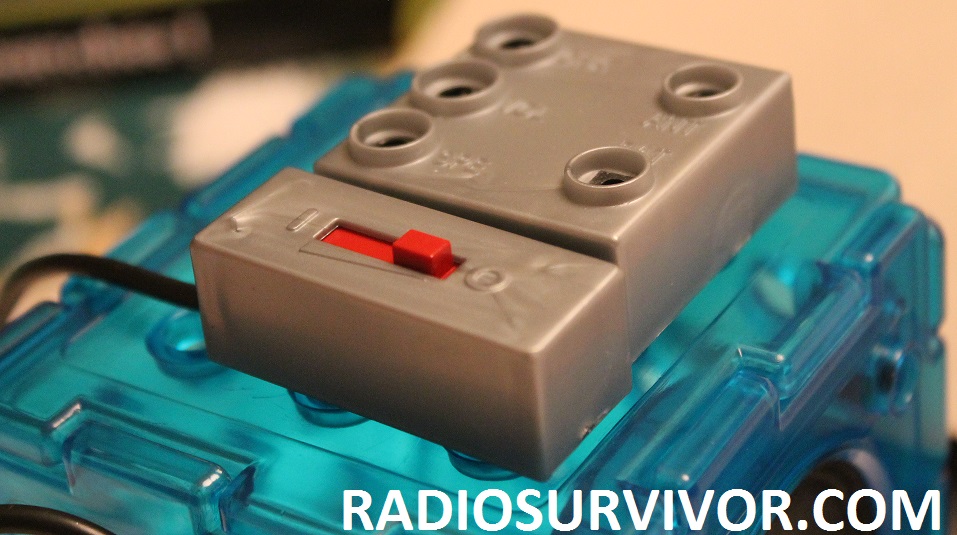
Assembling the radio. Photo: J. Waits
On the top panel we installed a plastic piece that various wires plug into (the “hub”). Next to it, we snapped in the volume control slider. On other panels we attached the tuner and battery pack. We then started to attach various cords from the components (antenna, tuner, battery pack, volume control, and speaker) into the hub.
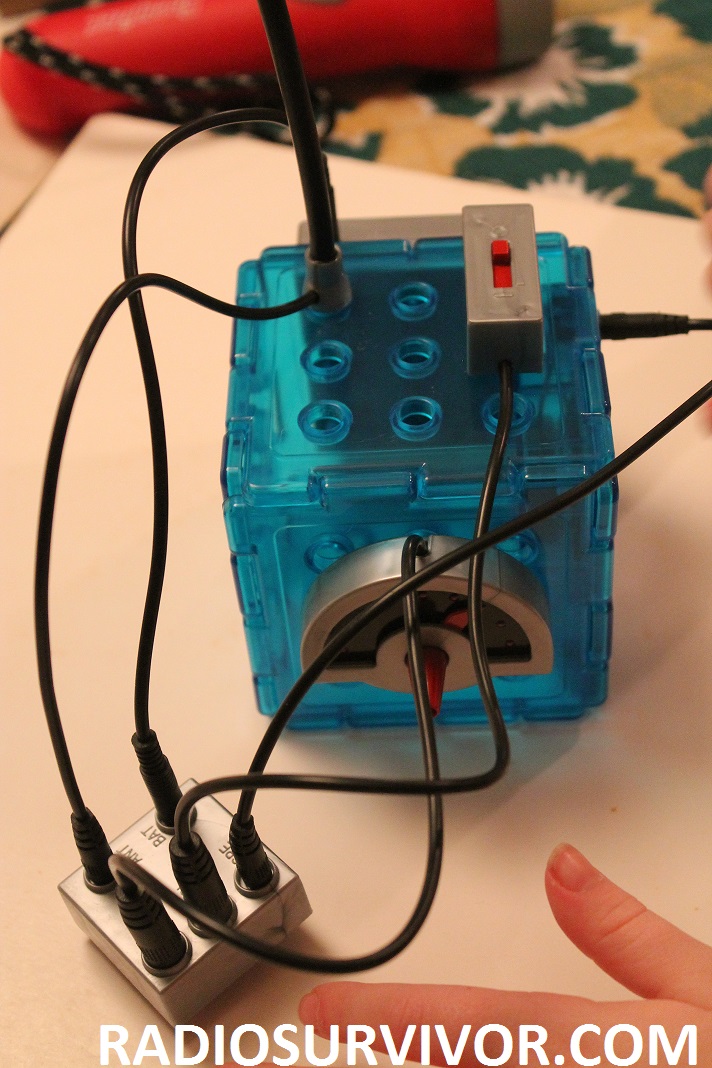
Attaching wires to Wonderology radio. Photo: J. Waits
Components can be attached and easily removed from the plastic cube in order to get the radio working. After experimenting with various configurations, we turned on the radio and heard a voice. In a very odd coincidence, the first sound that we heard was from the radio station where I volunteer and DJ – Foothill College radio station KFJC. The voice of long-time KFJC host Dave Emory emanated from the radio’s speaker and we were amazed.
Since then, however, I’ve only been able to get the radio working sporadically. When it did work, there wasn’t any volume control, the station was either on at a loud volume or off, nothing in between. We were able to tune in a handful of stations on the radio, but the tuner isn’t very precise, so it’s hard to tell what channel you are tuned to.
Although this project was initially satisfying since it is very easy to assemble and we were able to get an FM signal, it’s different from the crystal radio kits because it’s not really a science experiment. We didn’t learn about radio while constructing it, but it is a funky looking radio!

